The Seam Beneath the Loaf: Building Tension While Shaping
A loaf gains useful surface tension through small, controlled folds—not force. Follow a hypothetical shaping session to see how dough responds, when to pause, and how to close the seam without tearing the skin.
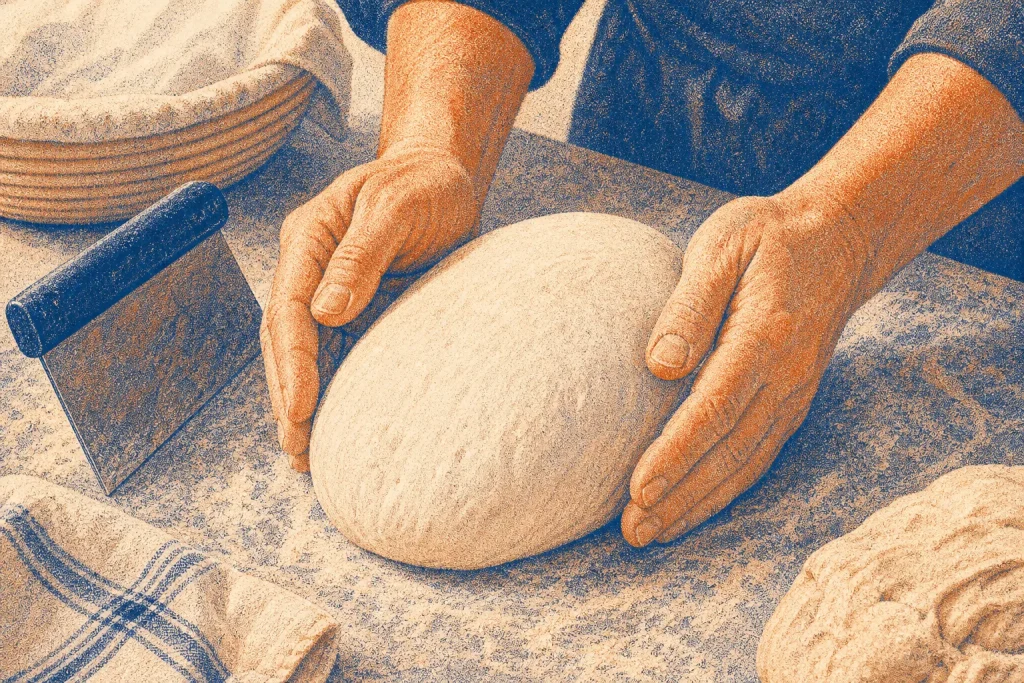
The most common shaping mistake is pulling the outer skin tight in one hurried pass. The dough may look neat for a moment, but a thin patch can split, leaving a rough loaf that spreads instead of holding its form. Surface tension comes from gradual movement: the dough’s outer layer gathers and tightens as you fold and draw it across the work surface, while the seam underneath keeps the shape closed.
Imagine you have a relaxed, risen dough resting on a lightly floured counter. You want to make a bâtard, an oval loaf, and you have a bench scraper, a clean work surface, and a bowl or basket ready for the shaped dough. The aim is not to squeeze the dough into a rigid package. It is to arrange its structure, then create enough tension on the outside to help it keep that shape during its final rise.
Reading the dough
Shaping begins before the first fold. Turn the dough out gently, taking care not to tug at it as it leaves its container. If it clings, ease it free with a scraper rather than pulling. The dough should feel soft and somewhat elastic, with a surface that can stretch as you move it. If it is very slack and smears across the counter, a dusting of flour can help you handle it; too much flour, though, can keep the folds from adhering.
Keep the bench only lightly floured. A little friction between dough and counter is useful when you draw the loaf toward yourself. If the surface is heavily coated, the dough slides instead of catching, so the outer layer does not tighten as readily. Think of smoothing a bedsheet over a mattress: the fabric becomes taut when you draw it across a surface that holds still, not when everything slips around.
Notice the dough’s condition as you work. A well-rested piece usually stretches with less resistance. If the skin begins to look shiny and thin, or a small tear opens, stop pulling. Let the dough rest briefly, covered, so the gluten can relax. Rest is not a failure or an interruption; it gives you a chance to continue with less force.
Folding the oval
For a bâtard, begin with the dough in a roughly rounded or rectangular shape. If it is very round, gently pat it into a broad oval without pressing out every visible bubble. Bring the side edges inward toward the middle, one at a time, so they meet or overlap slightly. Use the heel or side of your hand to press the folds into place. These folds organize the dough and begin to define its long shape.
Next, fold the upper portion toward the center. The dough should stretch only as far as it naturally allows. If it resists, pause rather than forcing it farther. Bring the lower portion up over the first fold, much as you would fold a letter, and press along the joining edge to seal the layers. The result is a compact package with a seam running along its length.
At this stage, the loaf may still look loose. That is fine. The folds have created internal structure; the final shaping will draw the exterior into a tauter skin. Avoid repeatedly pressing the whole loaf flat. Each broad, forceful press can drive out gas and make the dough harder to handle without improving the shape.
Drawing the surface
Turn the dough so the seam faces down. Cup your hands around the sides, with your fingers lightly touching the counter. Draw the loaf toward you in a short, controlled motion. The dough’s base catches on the counter as the outer skin moves, gathering a little tension across the top. Rotate the loaf slightly and repeat, keeping the movements small and even.
The bench scraper can help if the dough sticks to your hands or the counter. Hold it upright against one side and use it to guide the loaf as you draw it toward you. The scraper is a tool for supporting the movement, not for cutting into the dough. Keep its edge close to the base and avoid scraping hard enough to peel or tear the surface.
Watch how the outer layer responds. It should become smoother and more organized, not stretched into a paper-thin film. If the loaf resists moving, or the top starts to split, stop. A short rest under a clean towel can relax the dough. Then resume with less travel and gentler pressure. More force is not a shortcut to more useful tension.
Closing the seam
Once the outer skin feels gently taut, turn the loaf seam-side up. Pinch the lengthwise seam together with your fingertips, working along it without crushing the loaf. Check the ends as well: tuck or pinch loose flaps so they do not hang open. If the seam will not hold, the dough may be too dry on its surface or too heavily dusted with flour. Brush away excess flour and press the dough surfaces together; avoid wetting the seam unless the dough is unusually dry and your recipe calls for it.
Set the shaped loaf seam-side up in a floured proofing basket or in a cloth-lined bowl. The seam orientation helps keep it closed while the dough rests. If the loaf is going into a basket, make sure the support follows its shape rather than squeezing it into a narrow channel. The dough needs room to expand, but it should not be left so unsupported that it spreads broadly.
Say you begin with a bâtard whose left side keeps slipping during the final draw. You pause, cover it, and wait until the dough feels less resistant. Then you dust a small patch of counter, position the scraper at the loaf’s left side, and draw the dough toward you in shorter movements. The surface smooths without splitting, and the seam remains closed when you turn the loaf over. The useful lesson is not to repeat one motion harder; it is to identify what is preventing the dough from moving well and change that condition.
Responding to trouble
A tear usually means the skin has been stretched beyond what it can bear, or that a sharp, dry edge has caught it. Stop shaping as soon as you see a split. If it is small, bring the nearby dough together gently and let the loaf rest before continuing. A large tear may not disappear completely, so avoid chasing a perfectly smooth finish with more pulling. A slightly uneven surface is preferable to a weakened one.
If the loaf spreads as soon as you set it down, check whether the folds were sealed and whether the seam is underneath during the final draw. Also consider the counter. A slick, flour-covered surface gives the dough little grip, while a damp counter can make it cling unpredictably. Adjust the surface in small ways: scrape away gummy residue, add only a light veil of flour where needed, and use the bench scraper to free sticky spots.
If the dough feels tight and snaps back, give it a covered rest. Repeatedly stretching a resistant dough can make the outer skin more vulnerable while doing little to improve the shape. If it feels very slack, shape with deliberate folds and a steady sequence rather than prolonged handling. Either way, judge the dough by its response, not by a fixed number of pulls.
Lessons at the seam
Surface tension is the result of coordinated handling. The folds arrange the dough; the final draws tighten its outer layer; the seam keeps the package closed. None of these actions needs to be forceful. A gentle, well-placed fold is more useful than squeezing the whole loaf, and a pause can do more than another attempt at stretching.
Keep your workspace ready before you turn out the dough. Set the scraper within reach, prepare the basket, and leave enough clear counter space to move the loaf without bumping it. Work with light flouring, keep your hands calm, and make each movement serve a purpose. When the surface looks smooth and holds together without feeling stretched thin, stop shaping. That is the point to let the dough rest in its support and finish developing its form.
On the next loaf, change only what the dough asks you to change. If it slides, reduce the flour beneath it. If it catches or tears, free it gently and allow it to relax. If the seam opens, close it with a careful pinch. Treat the seam as the closure of a folded parcel: it should hold the contents together, while the outer surface stays taut enough to keep the parcel’s shape.